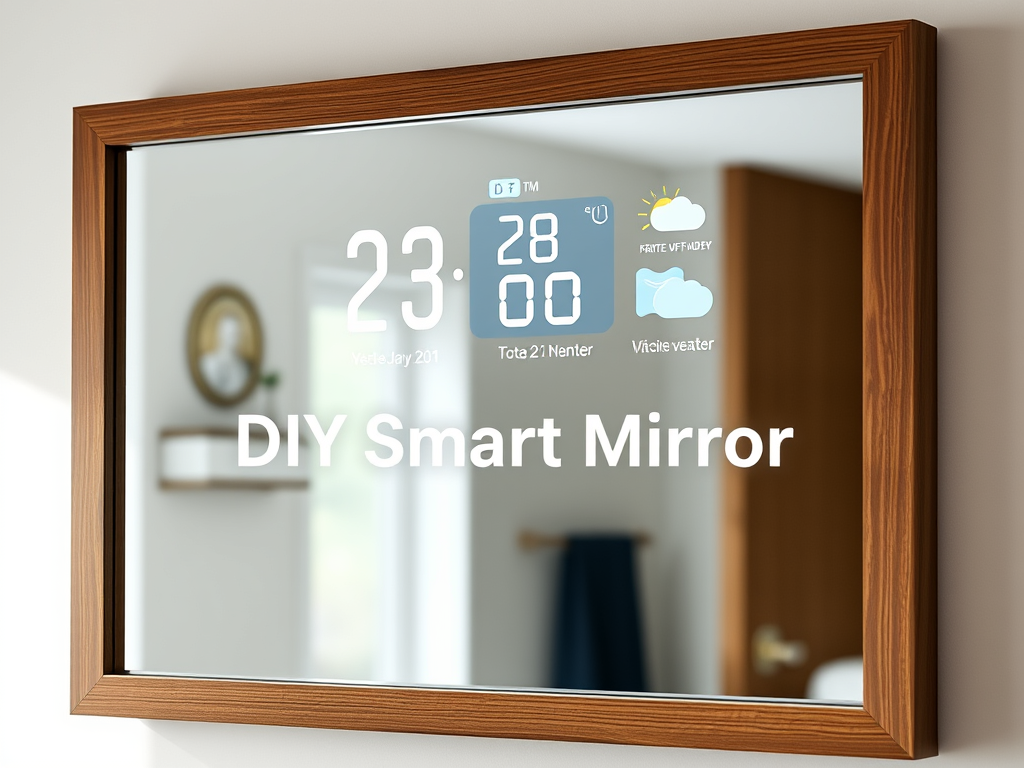
A smart mirror sounds like something out of a sci-fi movie, but it’s genuinely one of the more approachable Raspberry Pi builds you can tackle on a weekend. You end up with a wall mirror that shows the time, weather, your calendar, and whatever else you want, while still working as a normal mirror. No special skills required. Just patience, a few affordable parts, and a free Saturday afternoon.
What You’ll Need Before You Start
Short answer: a Raspberry Pi, a two-way mirror panel, a monitor, and a frame to hold it all together. Here’s the full list.
- Raspberry Pi 4 (or 3B+) with power supply, case, and microSD card (16GB minimum)
- Two-way mirror acrylic sheet or smart mirror glass, sized to match or exceed your monitor
- HDMI monitor or thin LCD panel (a used one works perfectly here)
- Wooden shadow box frame or custom-built frame with at least 2 to 3 inches of depth
- Micro-HDMI to HDMI cable (required if you’re using a Pi 4)
- USB keyboard and mouse for initial setup
- Wi-Fi or Ethernet connection
- Mounting tape, L-brackets, wood glue, and black paint or black vinyl for finishing
I’d recommend going with acrylic two-way mirror sheeting over glass if this is your first build. It’s cheaper, easier to cut, and won’t shatter if you fumble it during assembly. The trade-off is a slightly less crisp reflection, but honestly, most people won’t notice once it’s on the wall.
On the monitor side, thinner is better. A 21-inch IPS panel pulled from an old laptop setup or picked up secondhand fits the bill. The thinner the screen, the shallower your frame needs to be, which makes wall mounting much cleaner.
Step-by-Step Build Guide
Step 1: Set Up Your Raspberry Pi and Install MagicMirror²
Start by flashing Raspberry Pi OS to your microSD card. Use the official Raspberry Pi Imager tool, it’s free and takes about five minutes. Lite or Desktop both work. Boot the Pi with your keyboard, mouse, and a temporary display connected, then get it onto your network and run a quick update:
sudo apt-get update && sudo apt-get upgrade -yOnce that finishes, install MagicMirror² with a single command:
bash -c "$(curl -sL https://raw.githubusercontent.com/MichMich/MagicMirror/master/installers/raspberry.sh)"The installer handles the heavy lifting. When it’s done, MagicMirror² launches a clean interface with a clock, a compliments ticker, and a newsfeed already running. It works out of the box. The customization comes later.
In my testing, the install takes around 10 to 15 minutes on a Pi 4 with a decent internet connection. Pi 3B+ users should expect a little longer. Don’t rush it.
Step 2: Build and Assemble the Frame
This is the part most guides gloss over. Get it wrong and your mirror looks sloppy. Get it right and it looks like something you’d buy retail for $400.
Your frame needs to be deep enough to fit both the monitor and the Pi behind the two-way mirror panel. Two to three inches of depth is the sweet spot for most monitor thicknesses. A shadow box style frame from a hardware store works well as a starting point, or you can build your own from 1×4 pine boards if you’re comfortable with basic woodworking.
Assembly order matters here:
- Fit the two-way mirror panel into the front of the frame first. It should sit flush with the frame opening.
- Mount the monitor behind it using L-brackets or 3D-printed clips. Center it carefully behind the mirror’s reflective area so no screen edges bleed past the mirror border.
- Secure the Raspberry Pi to the interior wall of the frame or directly to the back of the monitor stand. Keep cable runs short and tidy.
- Cover the back interior of the frame with black paint or black vinyl. Leave only the monitor screen area uncovered. This is what makes the mirror effect pop. Any light leak around the edges kills the look.
Take your time on the blacking-out step. It makes a bigger visual difference than almost anything else in the build.
Step 3: Configure Your MagicMirror² Modules
All the customization lives in one file: ~/MagicMirror/config/config.js. Open it in any text editor and you can add, remove, or reposition modules.
The modules I’d set up first:
- Weather: Connect the built-in weather module to OpenWeatherMap. Free API key, takes two minutes to set up. Shows current conditions and a daily forecast.
- Calendar: Paste in your Google Calendar iCal feed URL and your schedule shows up automatically. Useful every single morning.
- Compliments: Replace the default affirmations with something you’ll actually want to read. Or delete it entirely. No judgment.
- Newsfeed: Point it at an RSS feed from a news source you trust. I use it for local news so I catch anything relevant without pulling out my phone.
Beyond the defaults, the MagicMirror² community has built modules for Spotify playback status, traffic commute times, Home Assistant integration, and even facial recognition that loads a personalized layout when it recognizes you. That last one is more advanced, but it’s there if you want it. Check the official MagicMirror² module directory on GitHub for the full list.
If you’re already running Home Assistant, connecting the two is worth doing. You can pull sensor data straight onto the mirror display. We’ve covered smart home dashboard builds separately if that interests you.
Step 4: Power Up and Mount It
With everything assembled, plug in the Pi and monitor. Set MagicMirror² to launch automatically on boot using pm2:
pm2 start ~/MagicMirror/installers/mm.sh --name MagicMirror
pm2 save
pm2 startup
That way, a power cycle won’t leave you staring at a desktop. The mirror just works when you flip the switch.
For wall mounting, use proper anchored brackets rated for the weight of your build. A framed monitor is heavier than it looks. Stud-mount where possible.
Optional Upgrades Worth Considering
Once the base build is running, a few additions make it significantly more useful.
LED Backlighting
An LED strip around the back perimeter of the frame gives the mirror a floating effect on the wall. Addressable LEDs like WS2812B strips can be controlled by the Pi directly and tied into your smart home automations.
Motion Sensor Wake
A PIR motion sensor wired to a GPIO pin can wake the display when you walk into the room and shut it off after you leave. Saves wear on the monitor backlight and feels like a nice touch in daily use. In my testing, a basic HC-SR501 sensor from Amazon works reliably for this and costs about $3.
Voice Control
There are MagicMirror² modules that hook into voice assistants or local wake-word engines. MMM-AssistantMk2 is one option. It’s a bit involved to configure, so I’d save this one for after the base build is solid.
Common Problems and Quick Fixes
Mirror effect looks washed out
You have a light leak somewhere in the frame. Check that all interior surfaces are fully blacked out, especially around the edges where the monitor meets the frame.
MagicMirror² won’t autostart
Double-check your pm2 configuration and make sure the startup script ran correctly. Rebooting the Pi and watching the boot log usually points to where it’s stalling.
Display is rotated wrong
Add display_rotate=1 or display_rotate=3 to /boot/config.txt depending on which direction you need to rotate. Portrait orientation builds are popular for narrow entryway mirrors.
Final Thoughts
This is one of those projects where the finished result looks way more complicated than the build actually was. Total parts cost typically lands between $80 and $150 depending on whether you already have a spare monitor lying around. The software is free. The build time is a weekend.
If you’re on the fence, I’d say just start with the Pi and software setup on your existing TV or monitor to get a feel for MagicMirror² before you commit to buying mirror panels and building a frame. Once you see how customizable it is, you’ll want to finish the build. That’s what happened to me.